Hello everyone and welcome to this new series of updates. I've been dealing primarily with game asset production the past few months, and have finally began making some headway in terms of creating assets which begin to resemble 'next-gen' assets. I'll be posting a few of the assets I've made recently and I'm considering starting a series of little Youtube clips providing different time-lapses of how they're created and maybe sharing some of the stuff I've learned throughout.
I'm in no way a professional modeler, though I have spent a few years (on and off) dealing with 3d design and concept work. I would say I've started taking a bit more seriously in the past two years, but I still consider myself very much a beginner in the field. That said, there are a few, fairly ambitious, projects in the work, more on which will be shared in the near future.
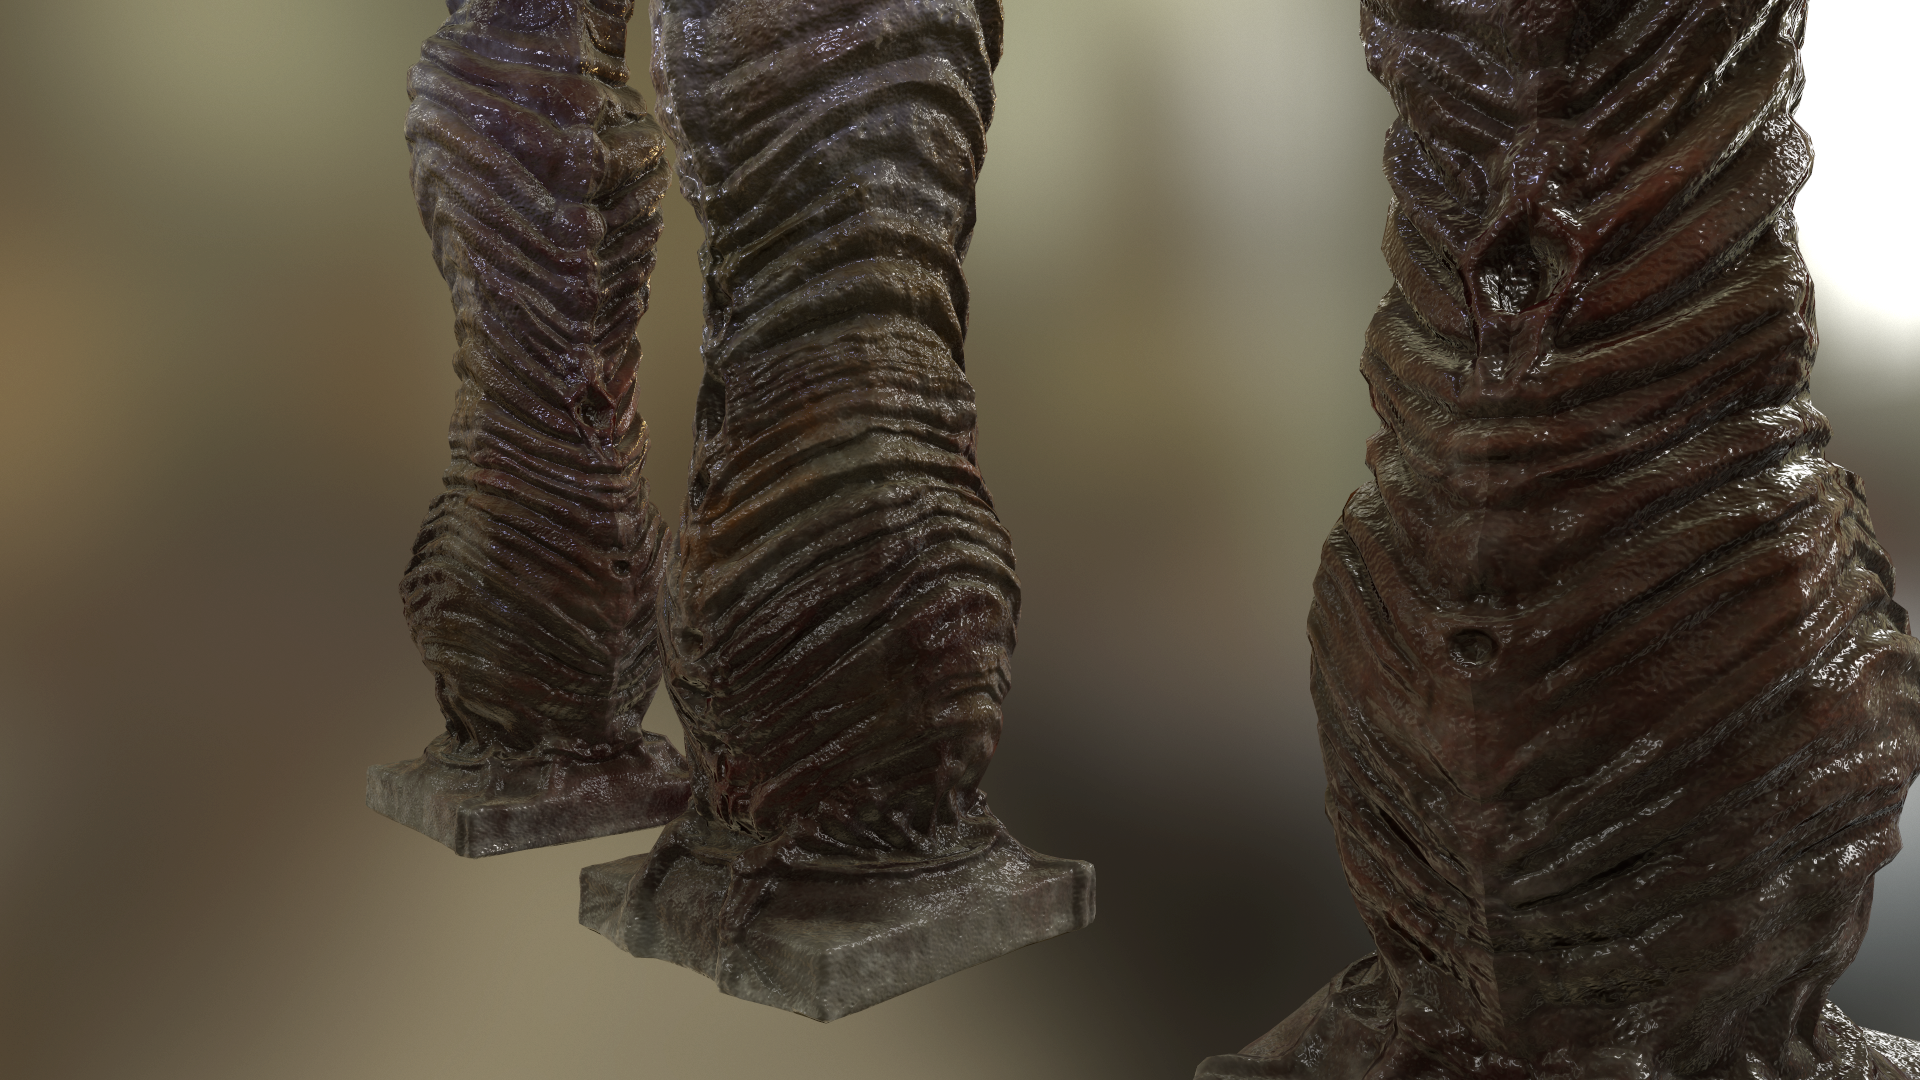
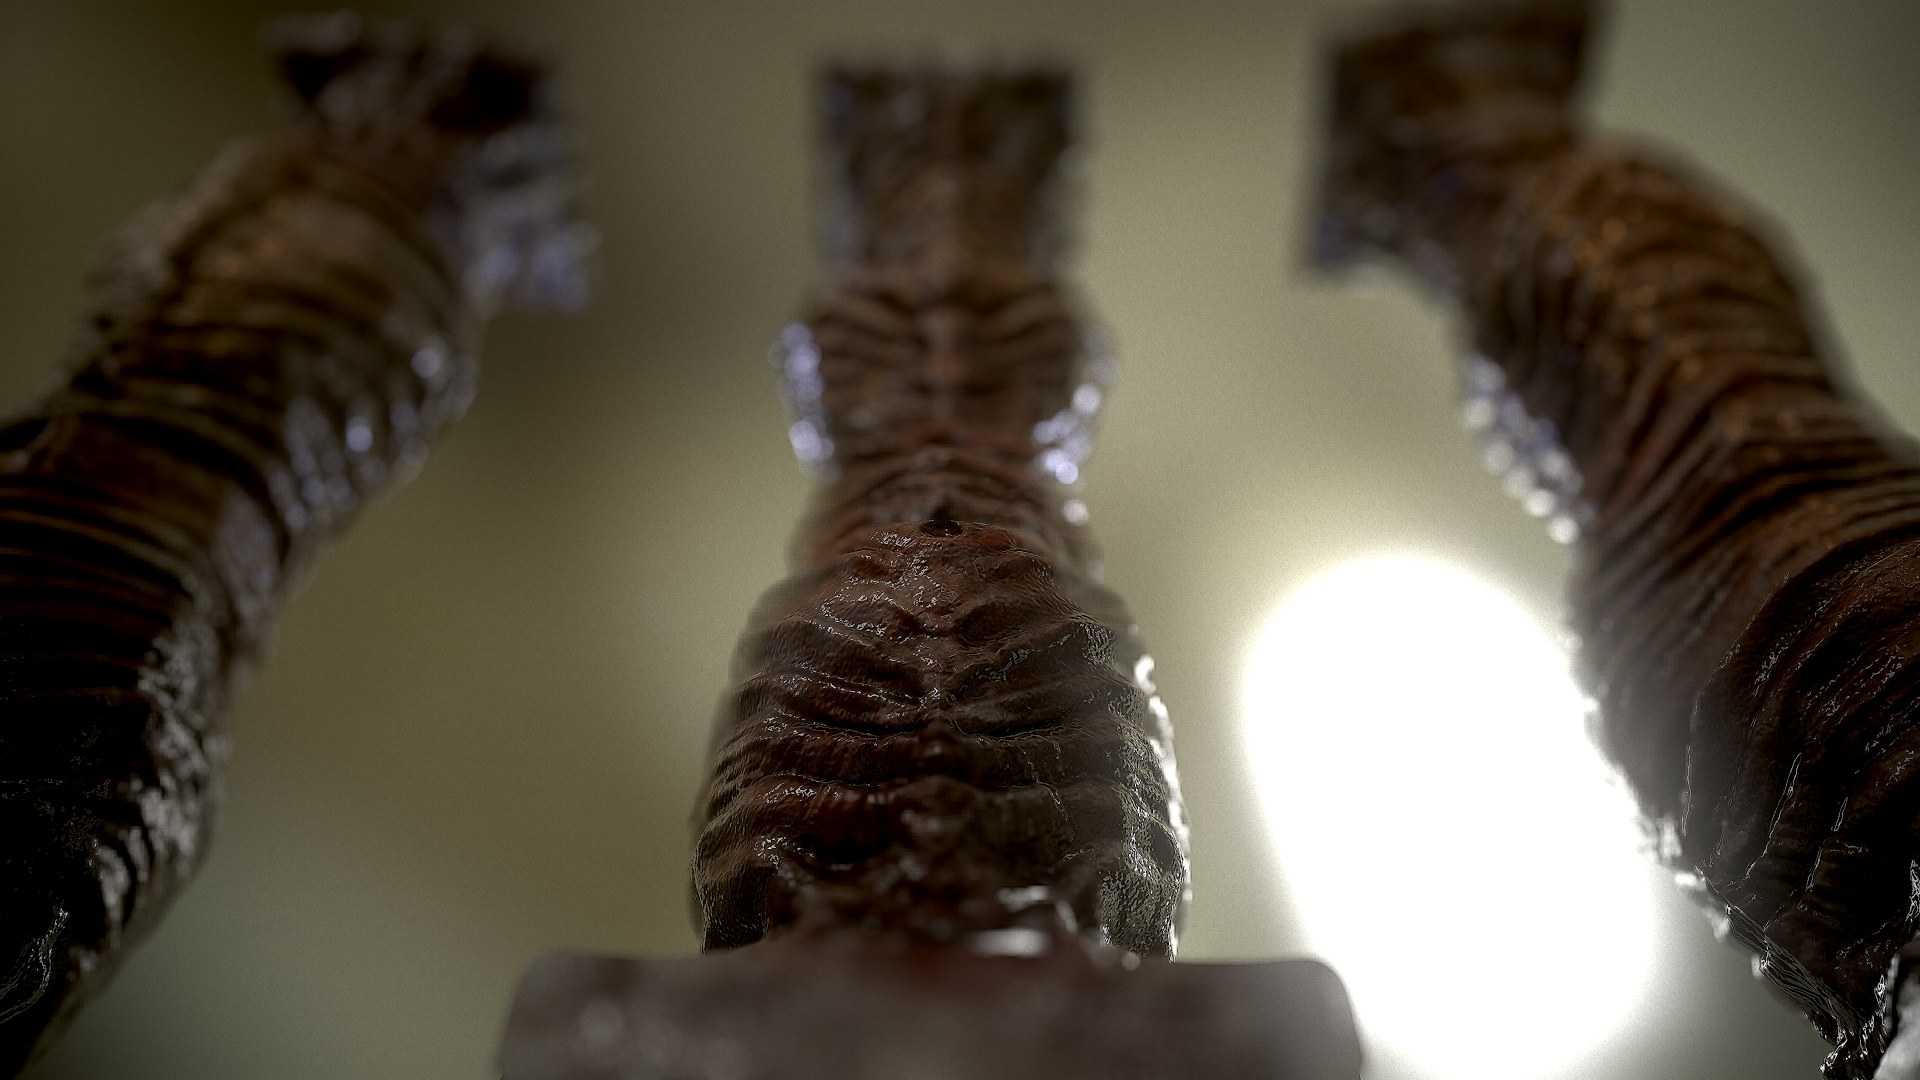
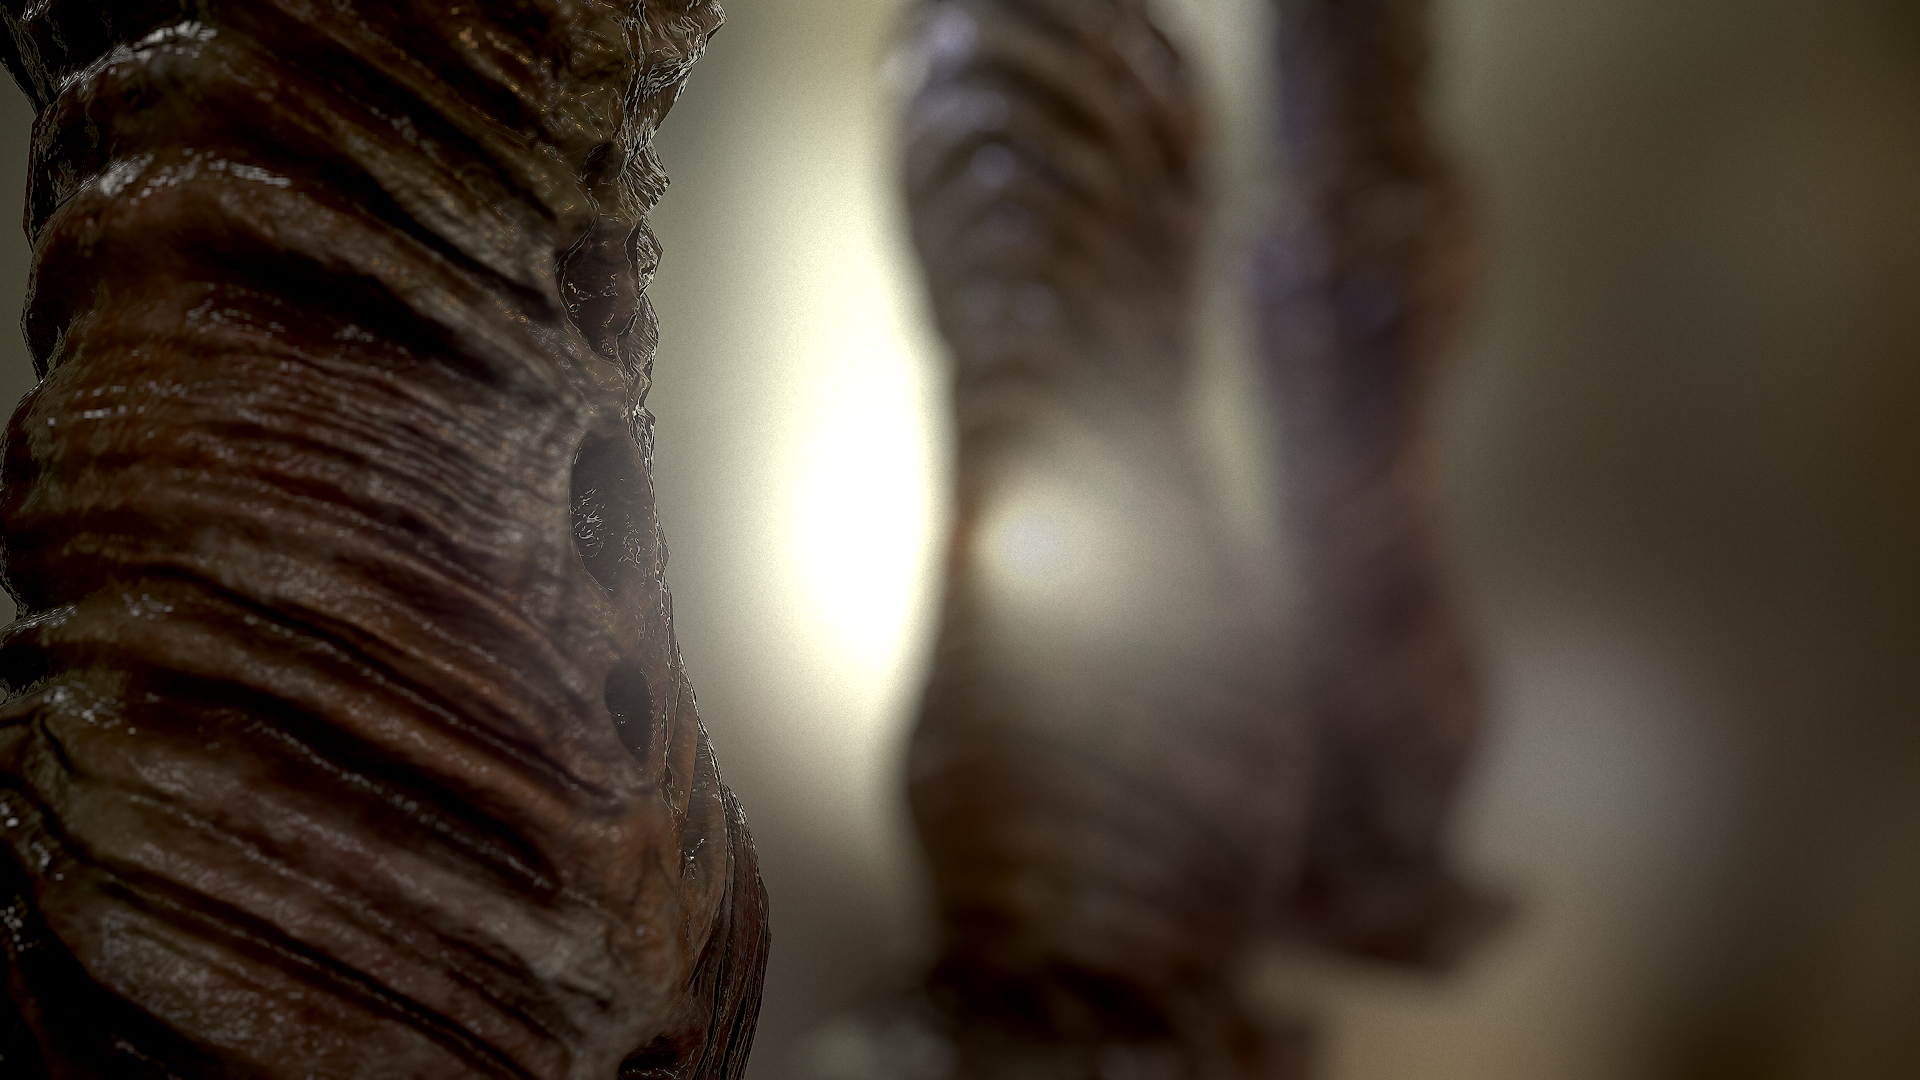
For this particular example I wanted to experiment with the corruption of traditional architectural forms and therefore I took a Doric column model I had quickly modeled in 3ds Max and gave it the 'Giger' treatment. Below the gallery of stills showing off the assets, I've included my notes in terms of workflow and general thoughts.
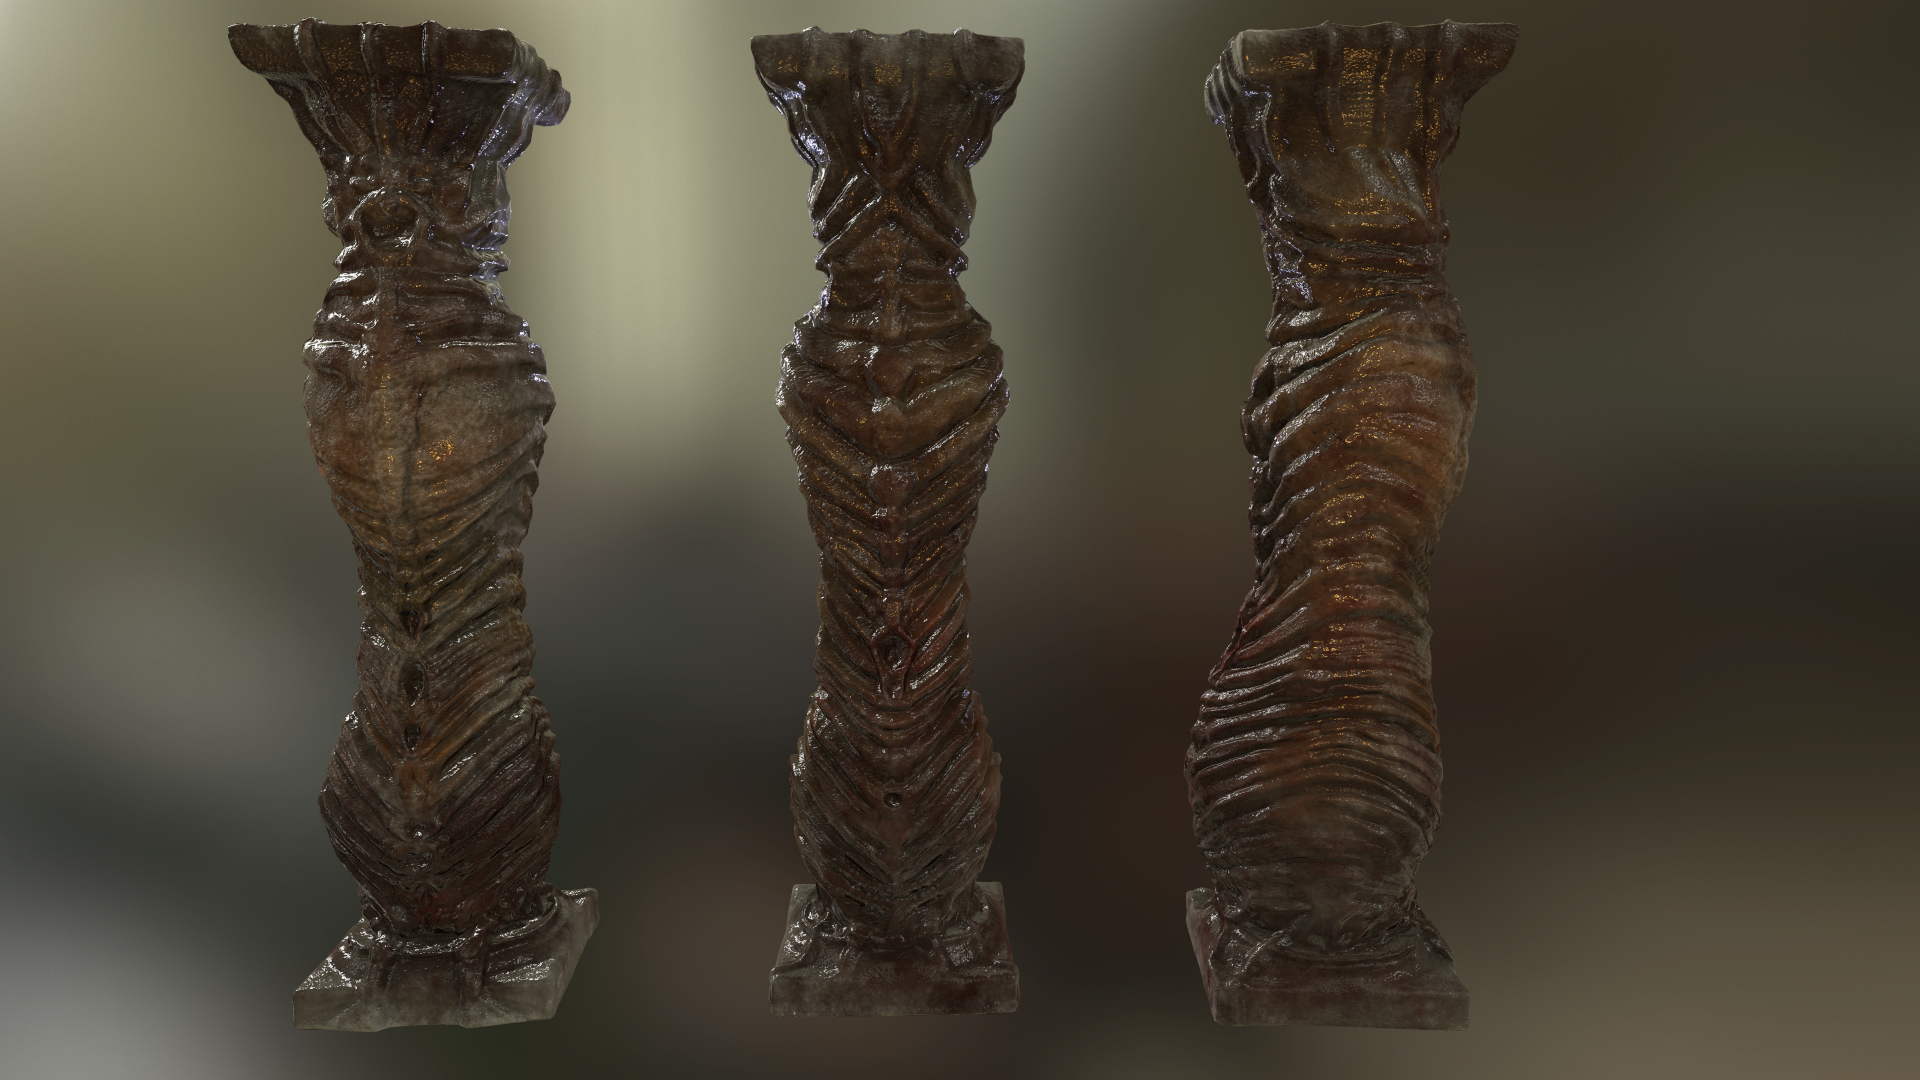

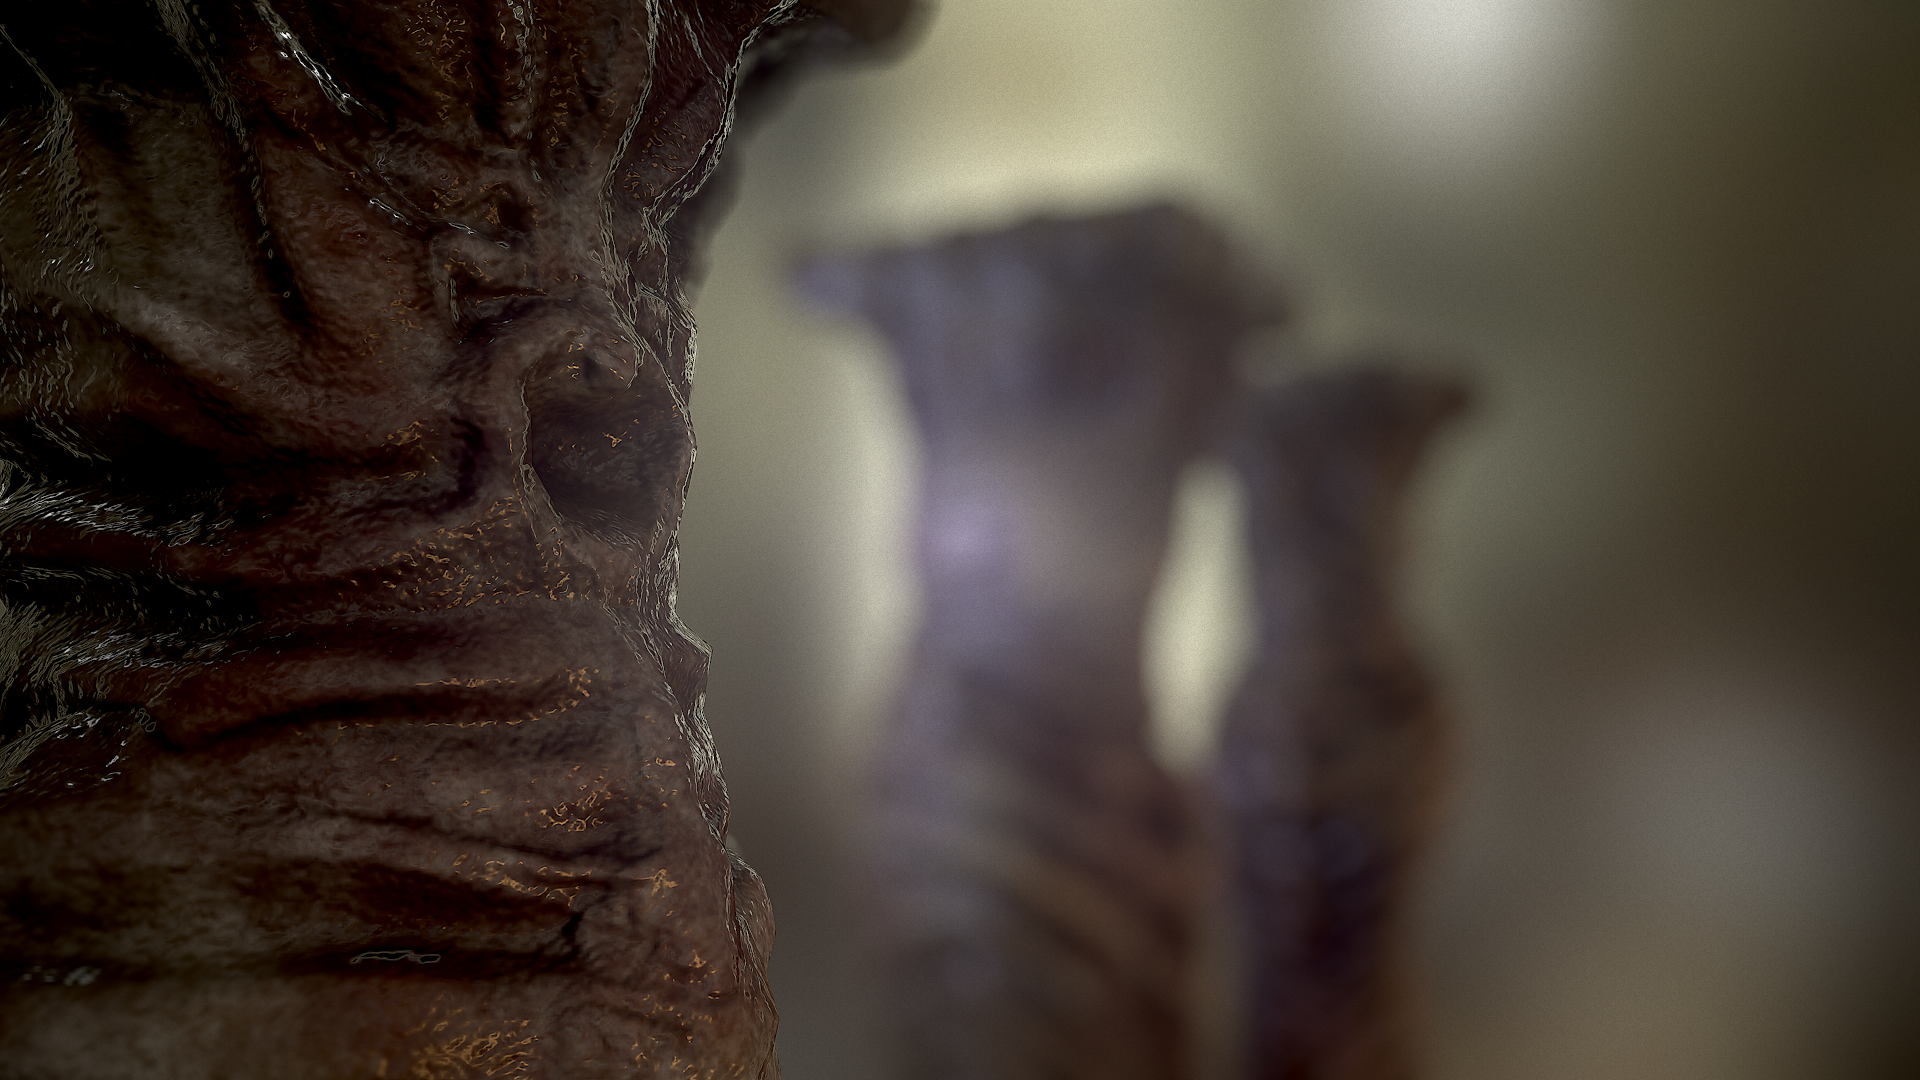

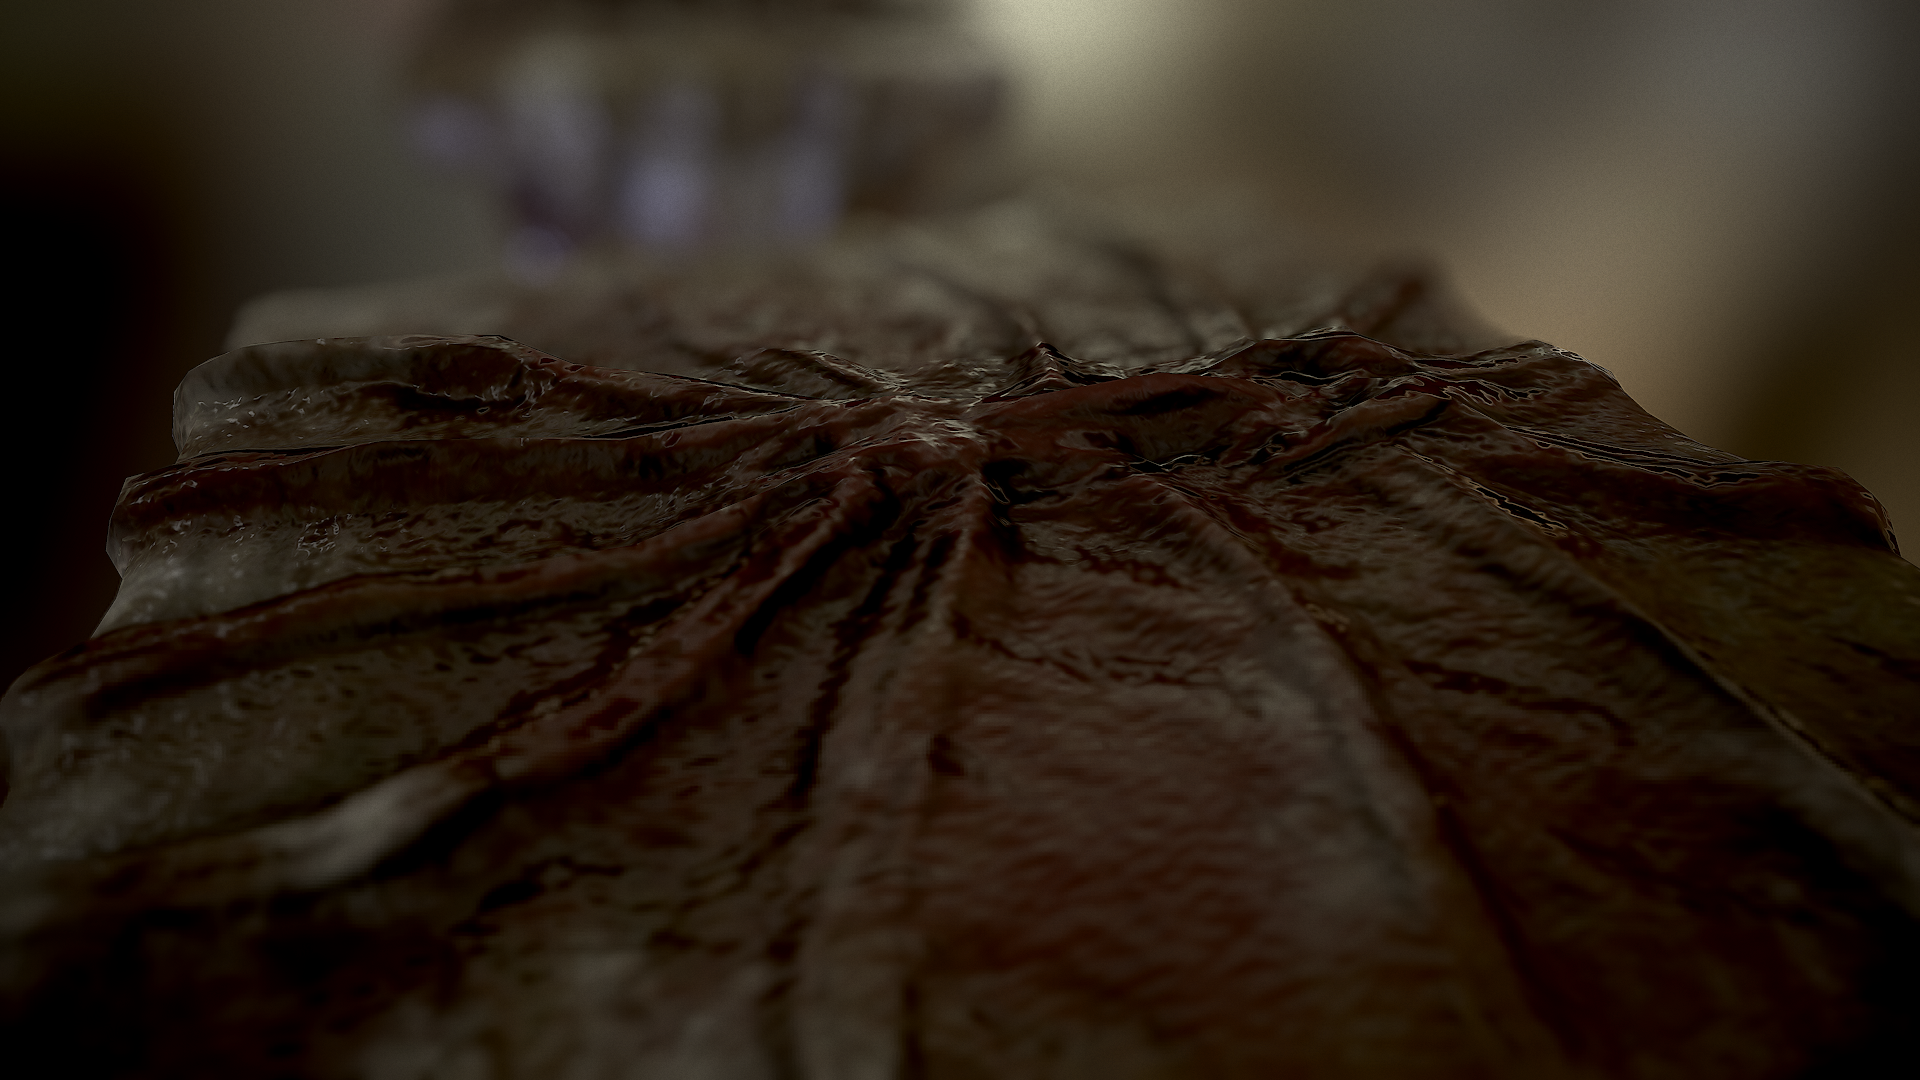
- The Doric Column base mesh was modeled, based on references in 3dsmax
- The base mesh was them imported into Zbrush, where the overall shape was determined - ie a slight curvature was added, through clip-brush trimming. The overall volumes were created using the standard Clay Buildup brush
- I kept the polycount at a fairly conservative level - around 1.27mil - which allowed me to sculpt some fine details and not go delve into too much fine detail and ornamentation
- A low poly mesh was automatically generated within Zbrush using the Zremesher tool which resulted in a mesh of around 11k polys. This can be brought further down, and can be greatly refined should one manually retopo the mesh but for its intended purpose (quick concept) it was acceptable
- Normal, cavity and ambient occlusion maps were baked in xNormal
- Texture work was done in Substance Painter which was a fairly recent addition to my workflow and I'm pretty much loving it so far. Most is handpainted with some royalty-free texture maps used here and there
- The presentation renders were done within Marmoset Toolbag which gave me a pretty good approximation on how this would look like in UE4 - where it ended up being used for a destructibility demo. Furthermore, it's a pretty quick way of previewing game-assets and presenting them as well.
That's pretty much for this one - I've succesfully imported it into UE4 and carried out some destruction tests on it and it worked pretty nicely so it's not too bad in terms of overhead and performance costs.
More to come soon :)